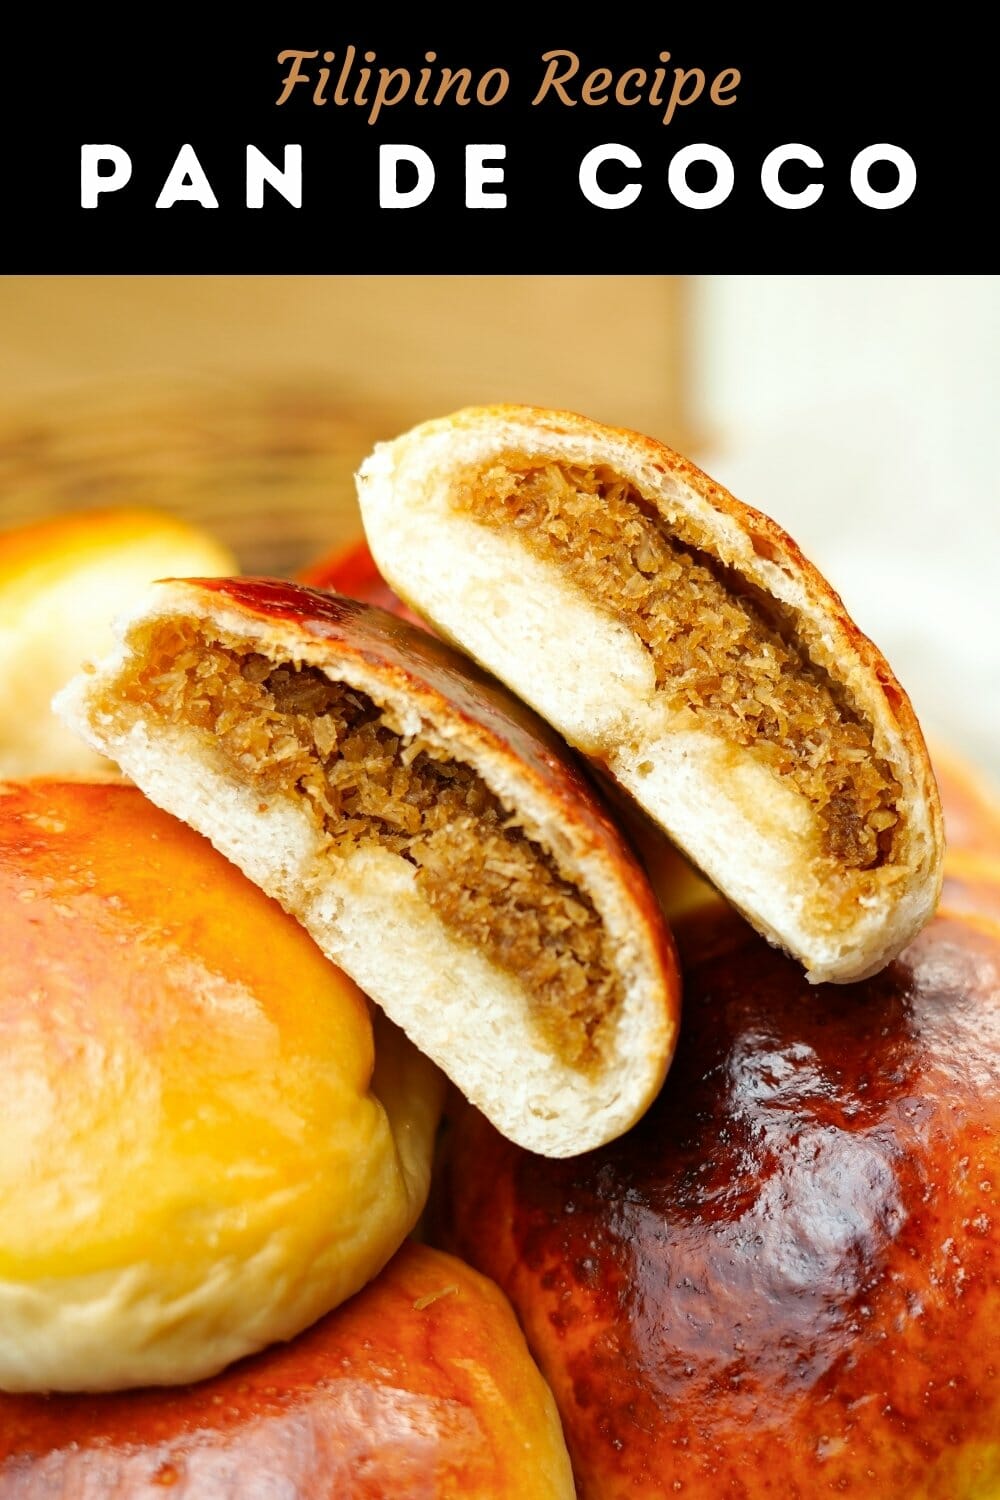
Pan de coco is a popular afternoon snack of soft bread filled with aromatic sweet coconut filling. They are popular at pananderias and local bakeries, as well as chain bakeries and grocery stores.
Pan de coco literally translates to “coconut bread”; these Filipino favorite sweet buns have Spanish roots. Coconut bread in the Philippines was influenced by the Honduran or Central American versions, which were served as a side to stews.
Spanish settlers introduced coconut bread to the Philippines sometime around the 1600s, where it evolved into a sweeter, more Filipino-style taste, and is now eaten as a snack or dessert in the Philippines.
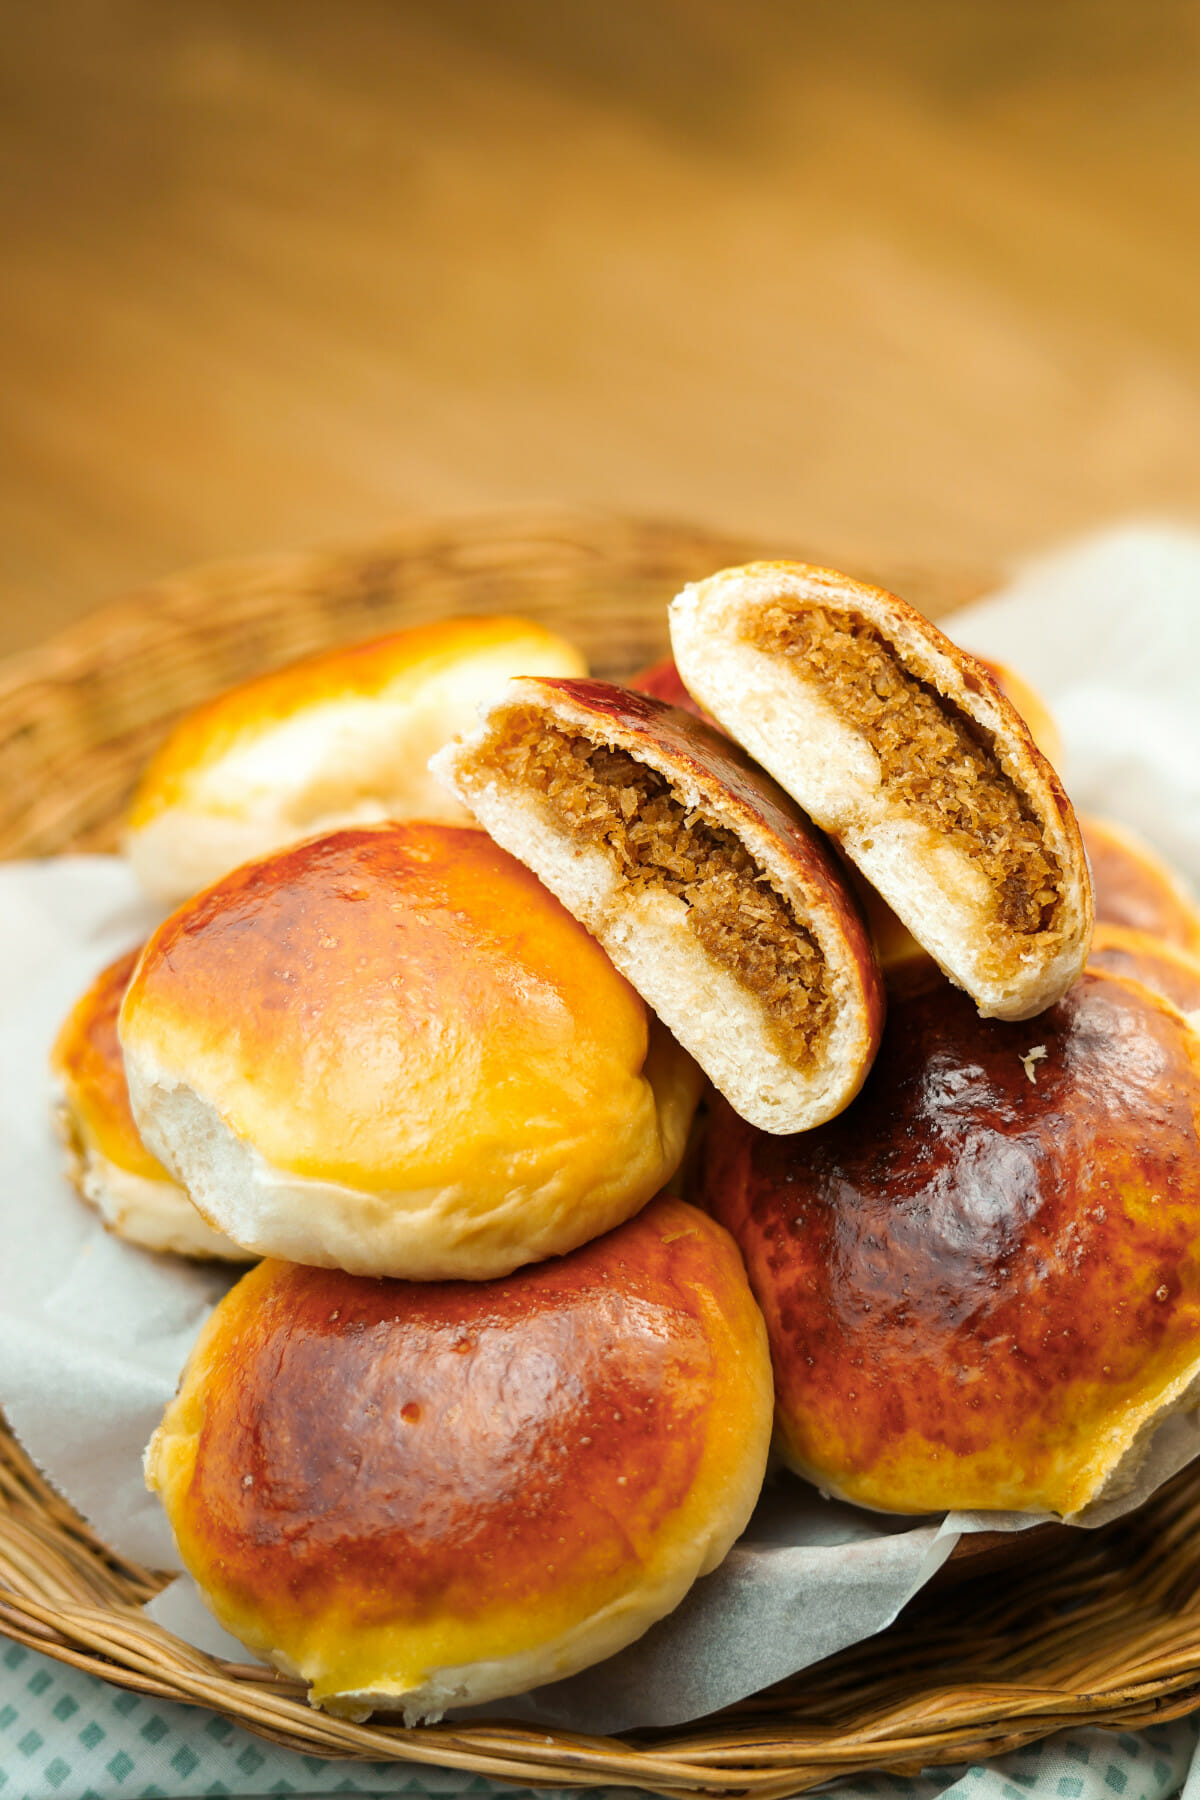
Pan de coco pairs fantastically with tea, coffee, or milk. A fan favorite of kids and adults alike, this bread isn't just a nostalgic favorite, it is also part of the merienda or afternoon snack culture, where you go to your local bakery with friends or coworkers, pick out bread types and flavors, and relax after a long day of work.
You'll probably find yourself eating two or three of these golden-brown delights before you know it. The word is “irresistible”.
Alternatives
Can I use butter instead of shortening or oil?
Butter creates a beautifully-colored and great-tasting dough. On the other hand, shortening or oil don't add flavor but create the fluffiest and softest bread. To replace the shortening or oil with butter, use a 1:1 ratio. You can also use half butter and half a shortening if you’d like a more buttery-tasting dough.
Can I use coconut milk or powdered milk?
Milk is necessary for the dough, as it increases water absorption, adds flavor, makes the bread softer, and turns the dough into a pretty cream-colored bun when baked. You can also use coconut milk as a 1:1 substitute, or powdered milk by using 1 tablespoon of powdered milk to 1/3 cup of water to create your ‘whole milk’.
For the filling, coconut milk increases the flavor profile and makes the most distinct and iconic pan de coco taste. But if this isn’t available use whole milk or any type of milk, like oat milk, soy, almond, or even evaporated milk.
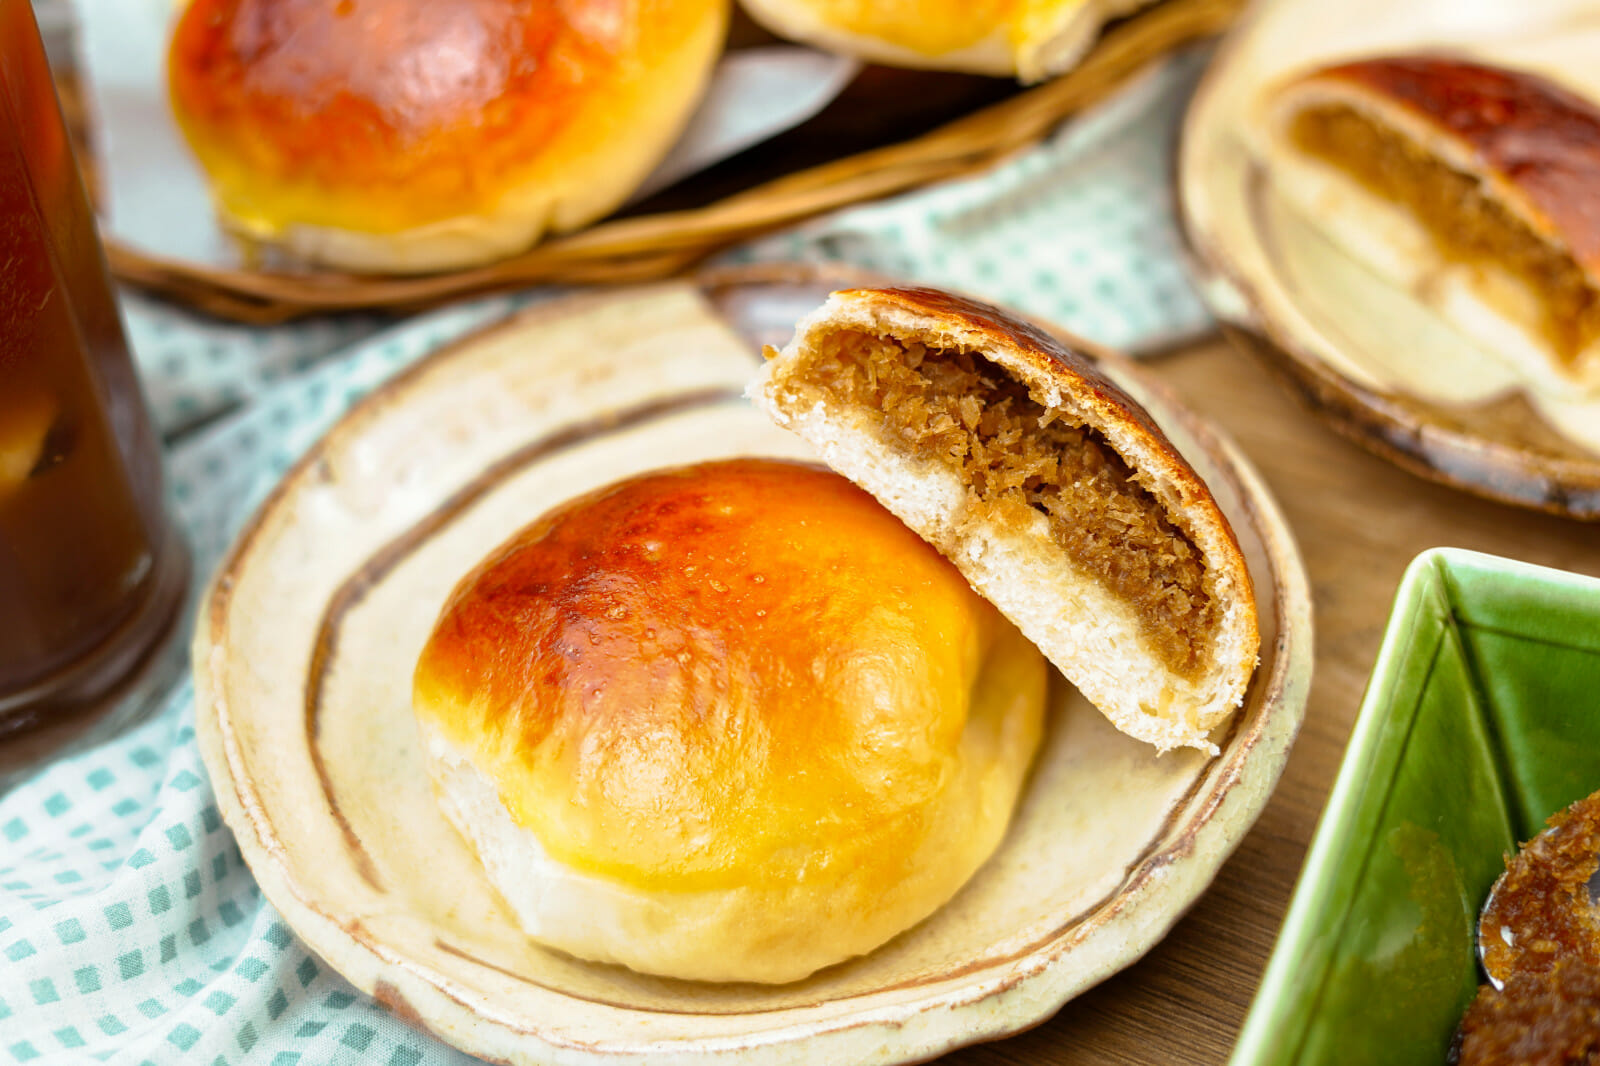
The ingredients list
- Yeast – helps with rising
- Milk – adds fat and sugar to add more flavor.
- White sugar – is used for the dough, as it helps keep the dough looking white, or almost cream in color.
- All purpose flour – creates a wetter dough compared to bread flour but does make the baked good fluffy and soft.
- Vegetable oil or shortening – keeps the dough moist and helps it turn fluffy.
- Salt – helps enhance the flavors
- Desiccated coconut – a sweet finely grounded coconut meat
- Brown sugar – helps add color to the filling, brown sugar also retains moisture well.
- Coconut milk – canned or freshly squeezed. Adds the nutty and earthy flavor into the filling.
- Butter – gives the filling a certain feel of richness.
- Vanilla – adds to the aroma of the filling.
- Water – binds the filling together.
- Egg – adds a nice color and ‘crust’ over the bread
- Water – to dilute the egg.
Quick tips
- Avoid adding more flour when kneading. This helps keep the dough from being dense and makes it fluffy.
- While the dough may take a long time to rise, warmer temperatures can help it rise faster. Place in a turned-off oven or somewhere warm to speed this process up.
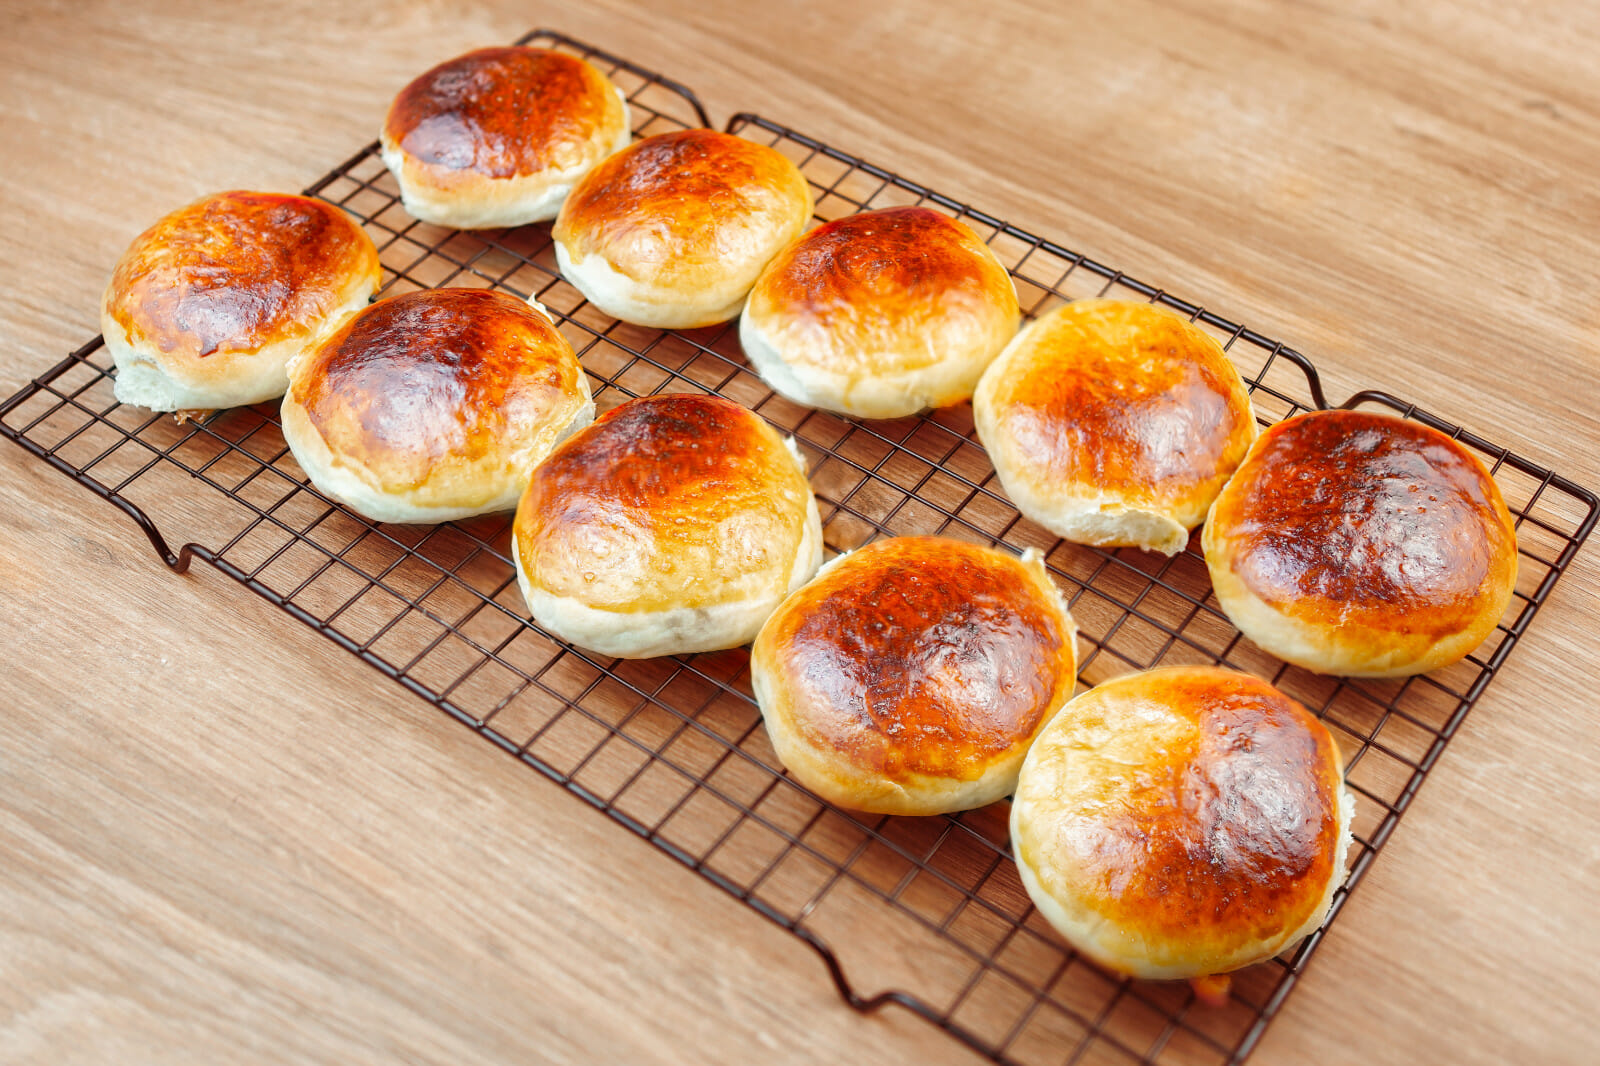
- Brushing the egg wash in the middle of baking helps keep the top from burning.
- The Pan de coco can be stored in an airtight container or a Ziploc bag at room temperature for a week, and 2 to 3 weeks in the fridge.
Step by Step Photos
Dough
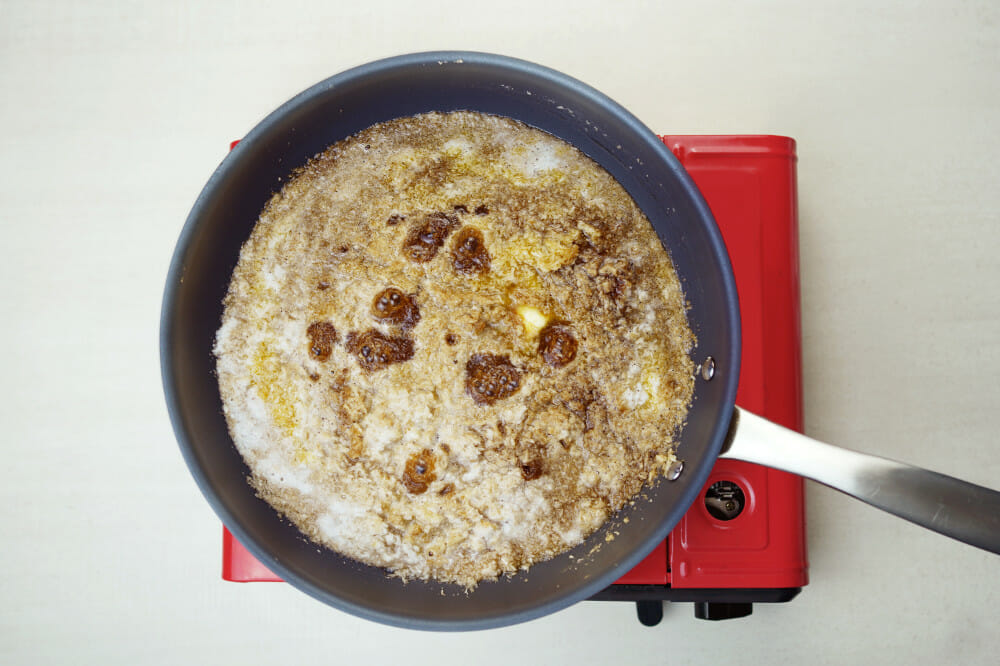
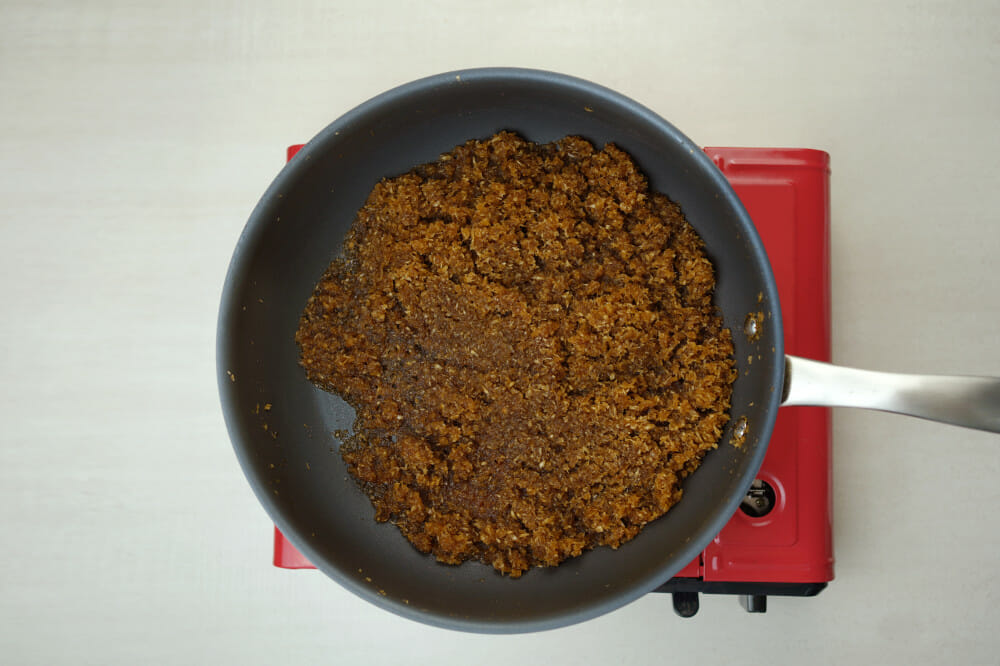
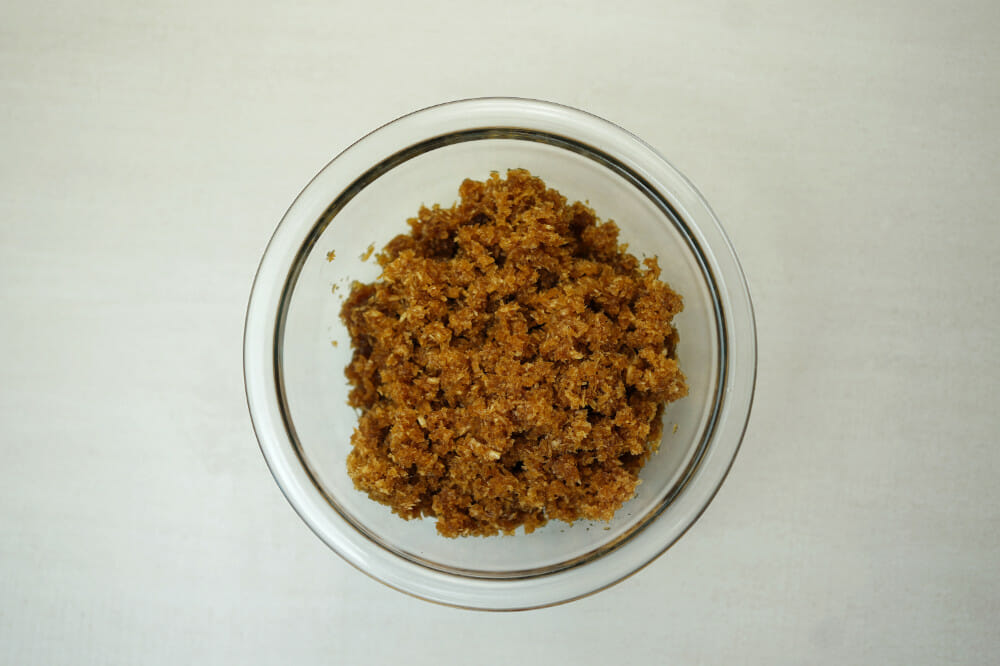
Filling
Arrange
Frequently Asked Questions
Where did the Pan de coco originate?
Pan de coco was originally developed in Central America and introduced to the Philippines by Spaniards who settled in the 17th century. The difference between the Honduran version and the Filipino version is that the former is less sweet and incorporates coconut flakes into the dough, whereas the Filipino version turns the shredded coconut into a filling.
How many calories are in a Pan de coco?
A single serving of pan de coco has around 146 calories. It's a dessert dish so naturally high in carbs
Which kind of coconut milk works best?
If possible, use freshly squeezed coconut milk, as it doesn't contain any preservatives or thickeners and has a clean taste. J em J coconut milk is used for this recipe as it’s a rich-tasting coconut milk with a thicker consistency. And it's used in many Filipino dishes, especially sauces. It's hard to find in the United States and Europe, but you can use any high-quality coconut milk from freshly squeezed, carton, or canned products. The thick consistency of canned milk helps keep the filling from being too watery and makes it easier to bind together.
Pan de Coco
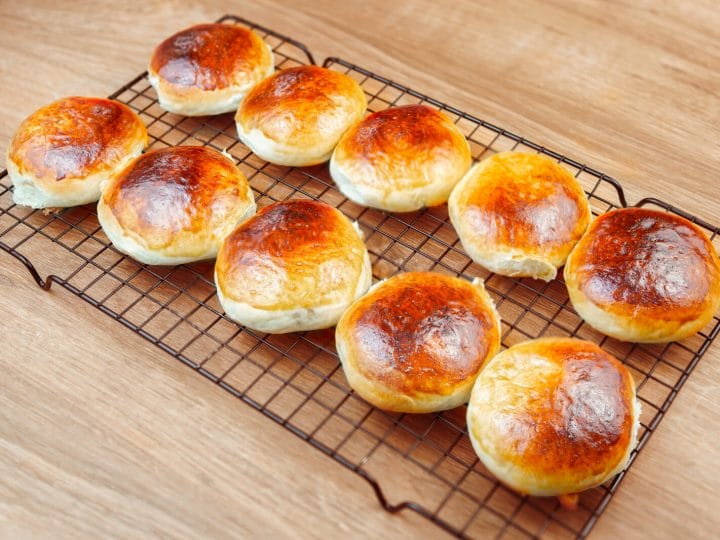
A comforting, coconut-flavored take on sweet bread buns.
Ingredients
For the Dough
- 1 tablespoon dry yeast
- 1 ¼ cups warm whole milk
- 2/3 cup white sugar
- 4 cups all purpose flour
- ½ cup vegetable oil or shortening
- ½ teaspoon salt
For the Filling
- 1 1/3 cups desiccated coconut
- 2/3 cup brown sugar
- 2/3 cup milk or coconut milk
- 3 tablespoons butter
- ½ tablespoon vanilla
- ½ cup water
For the Egg Wash
- 1 medium sized egg
- 1 tablespoon water
Instructions
For the Dough
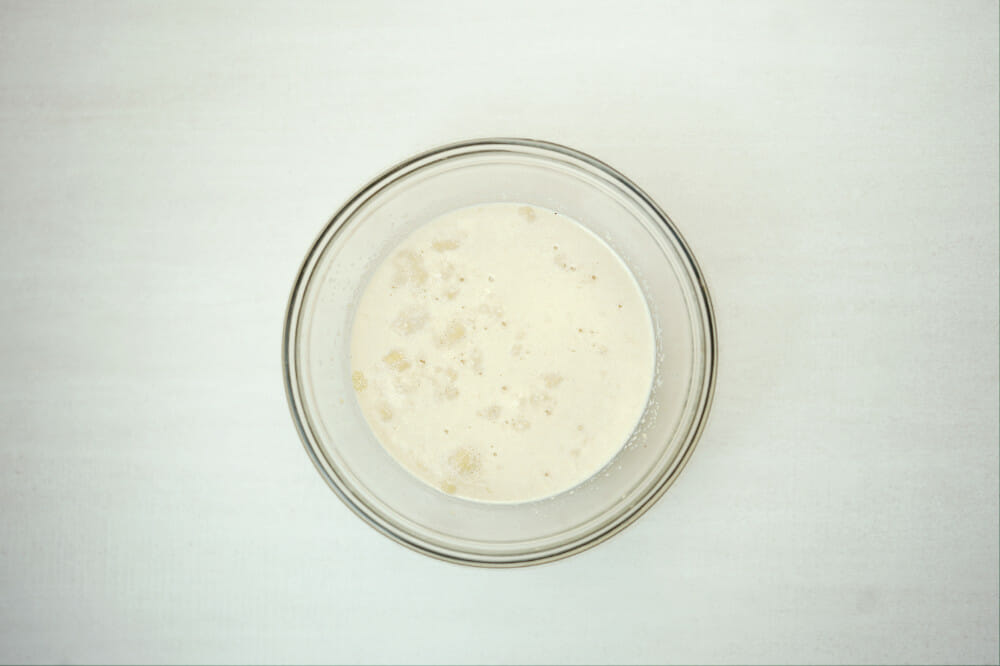
- In a mixing bowl, mix together yeast, warm milk, and sugar. Set this aside for 10 – 12 minutes or till you see bubbles form, or smell a yeasty aroma. Set aside.
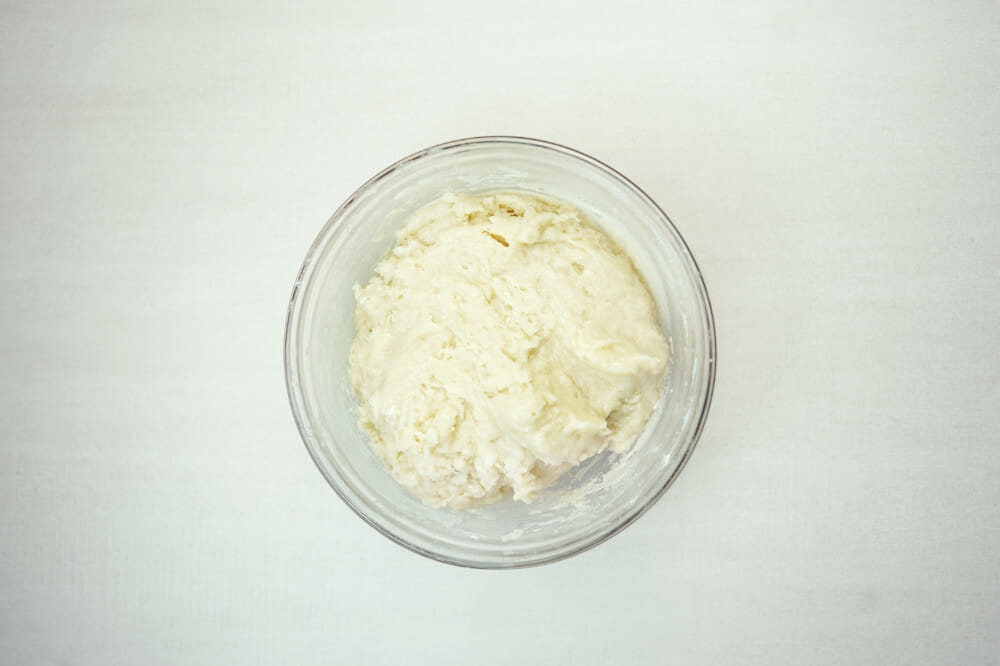
- In another bowl, mix all purpose flour, oil, salt, and the yeast mixture. Mix till you form a shaggy dough.
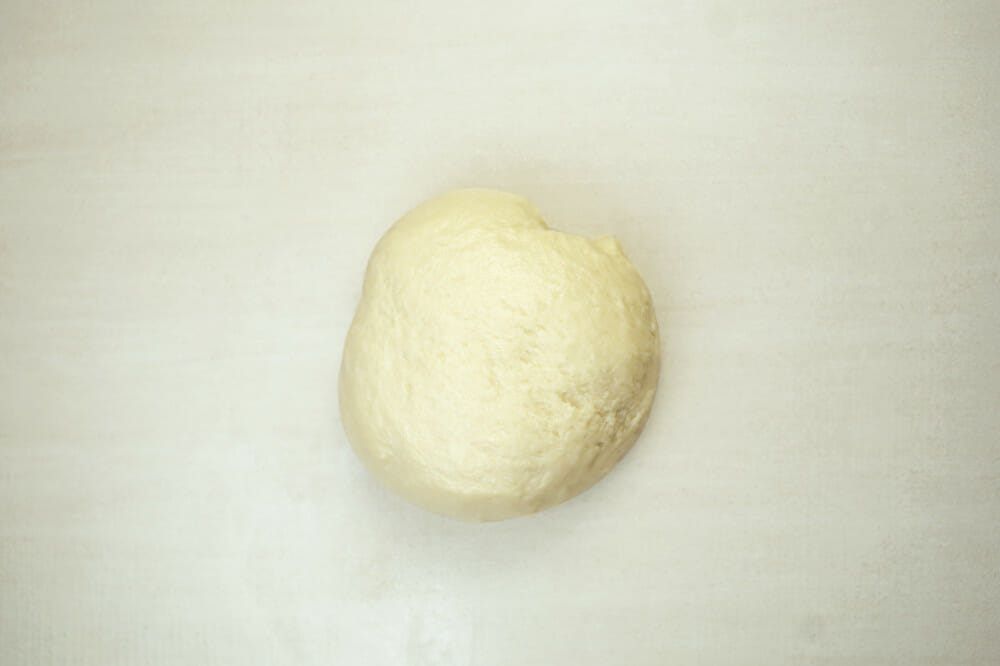
- Spread some oil on a smooth surface, before placing the dough. Coat your hands with oil as well to make it easier to knead. Knead till it looks smooth.
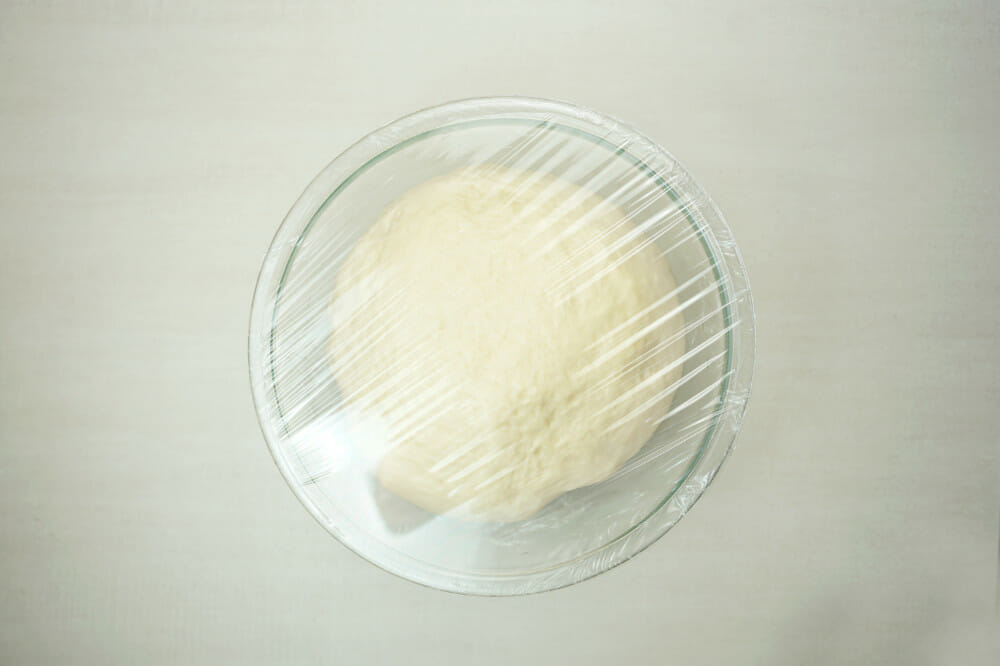
- Place the dough in a large bowl lightly greased with oil. Cover with cling wrap or a towel and set aside for 1 hour or till it doubles in size.
For the Filling
- In a pan at medium heat, mix in desiccated coconut, brown sugar, milk or coconut milk, butter, vanilla and warm water.
- Mix till there are almost no liquids lefts and it feels a bit sticky.
- Place this in a bowl to cool down.
To Arrange
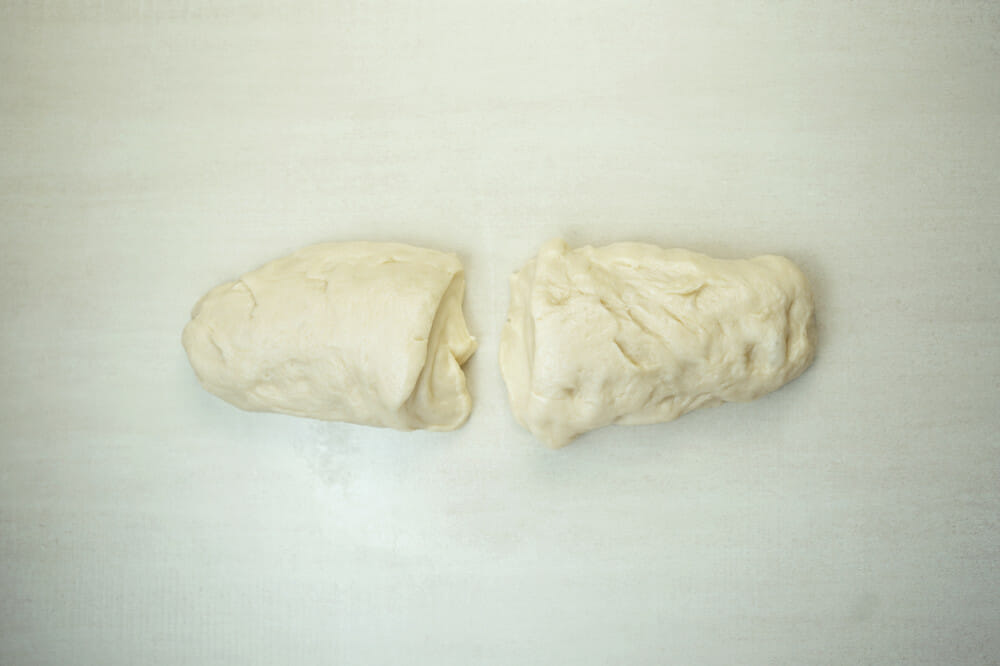
- After the dough has risen, place this on a smooth surface. And slice these to half.
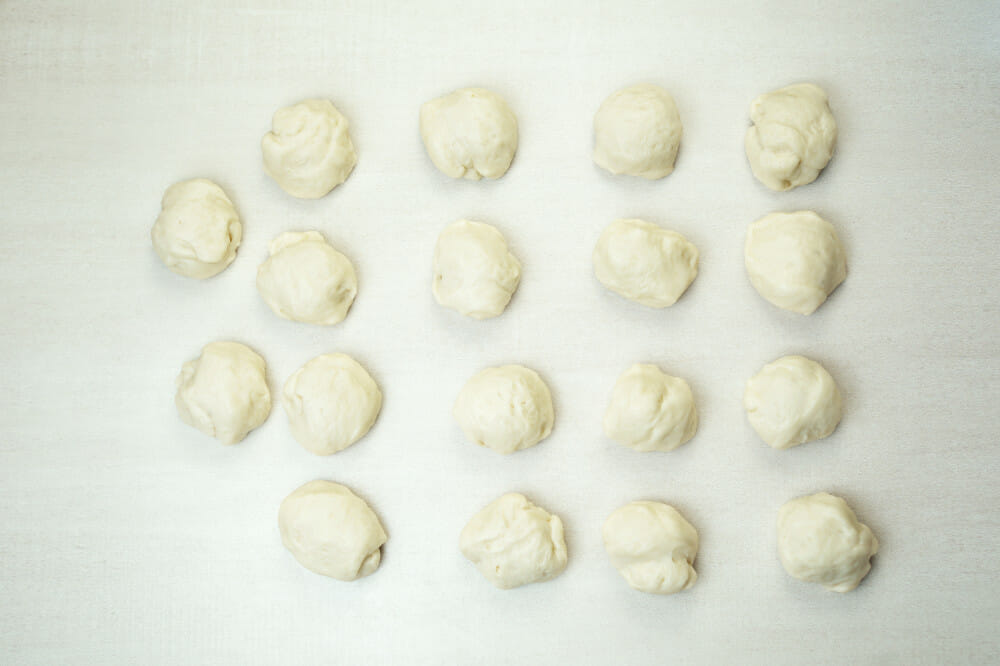
- Repeatedly Roll into a log and slice till you get 20 -23 pieces, or by measuring around 55grams for each piece.
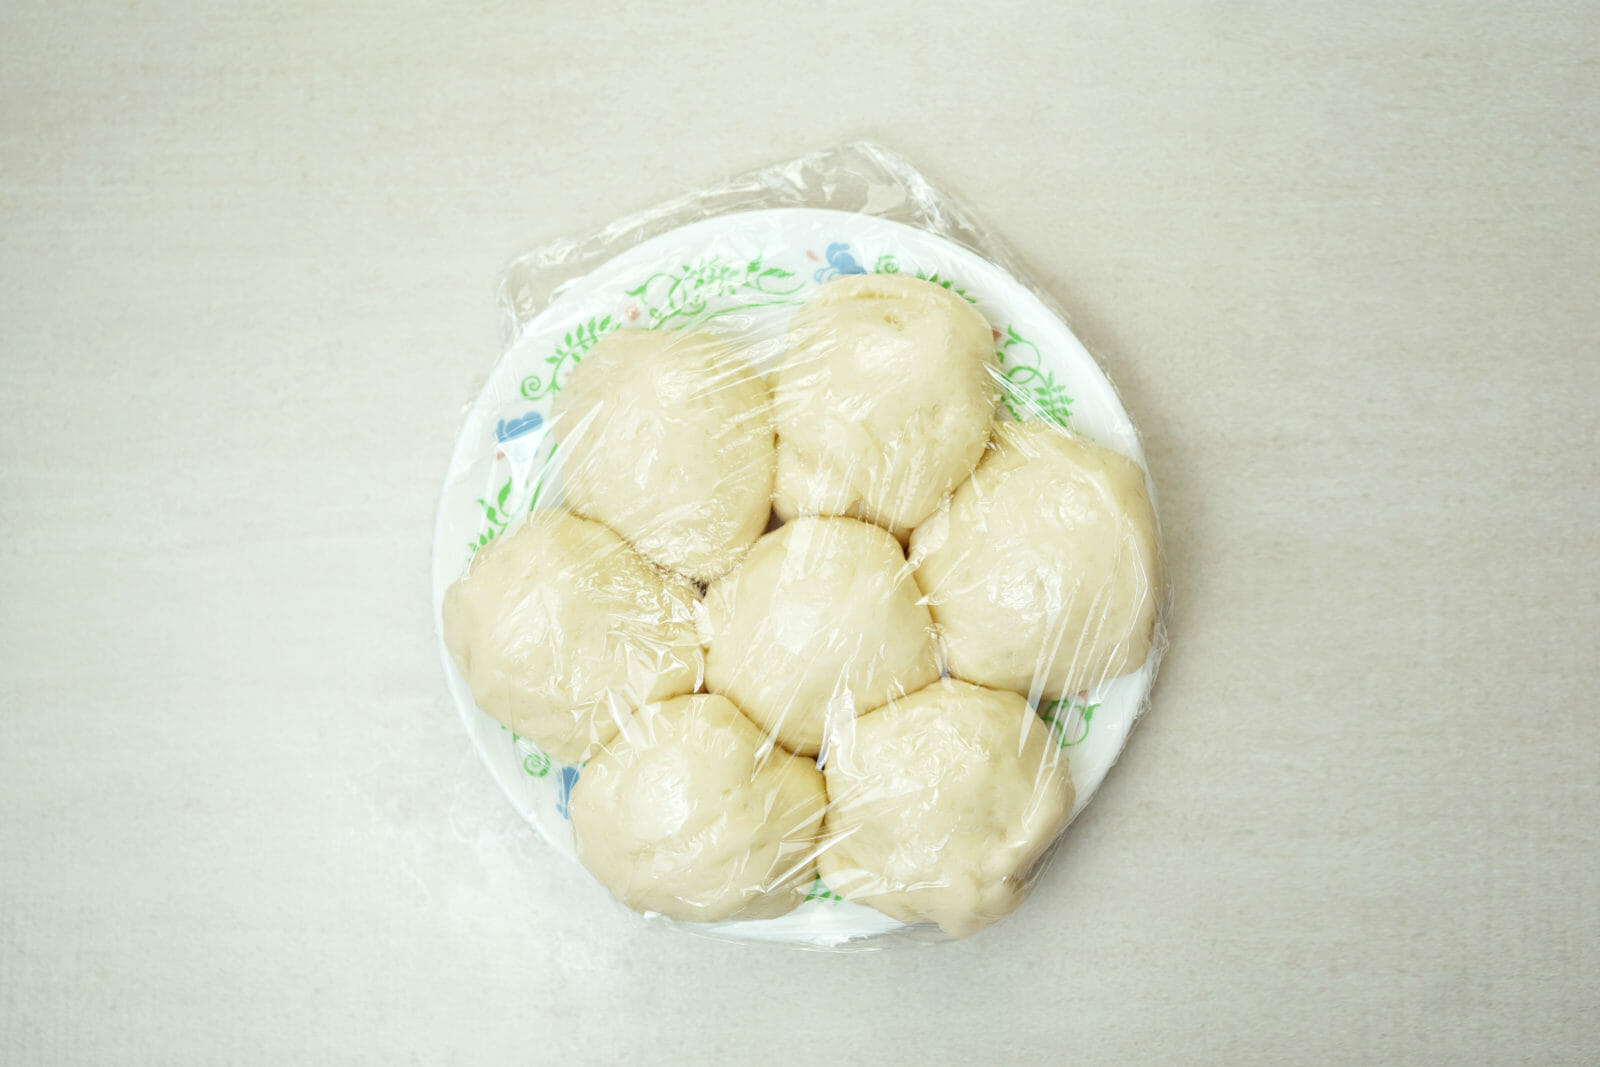
- Make sure to cover the dough balls to avoid getting them dry while you add the filing.
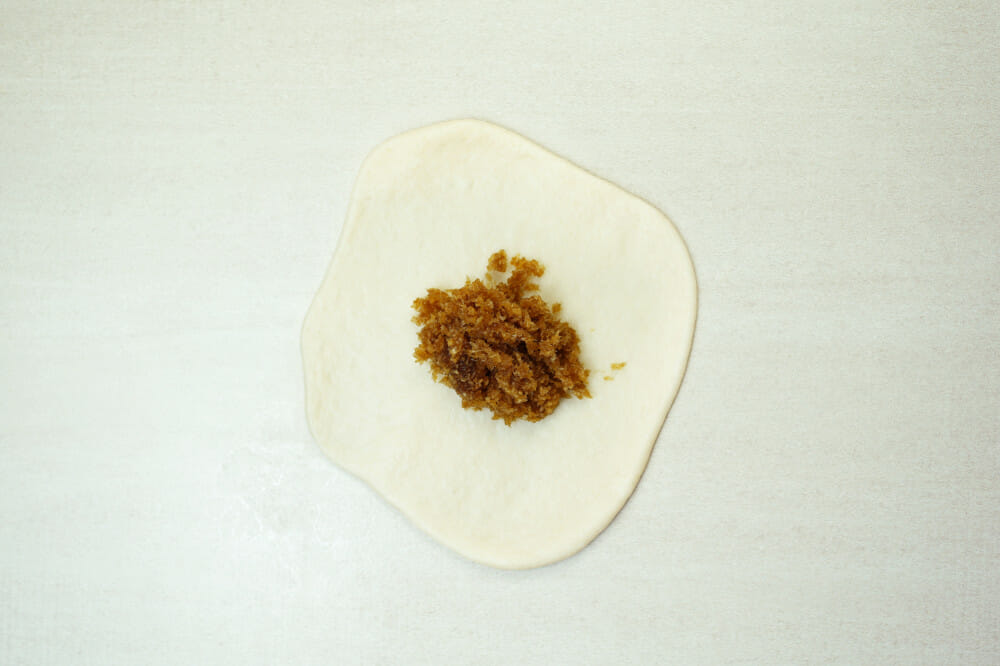
- Take a ball out of the cling wrap or towel, one at a time and flatten this to around 1 cm thin, place a tablespoon or a tablespoon and a half of filling in the middle.
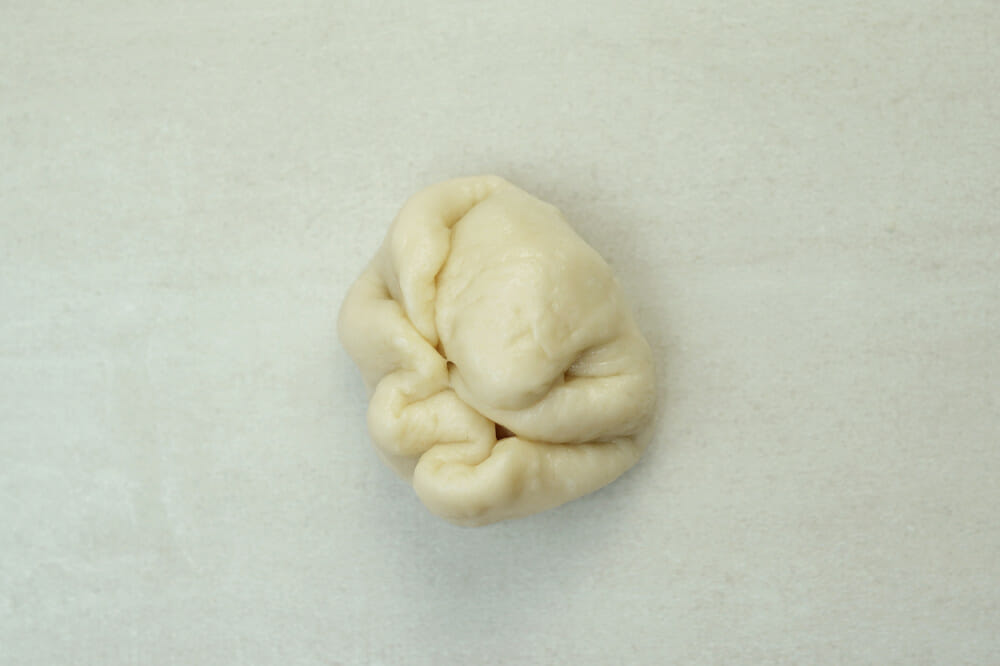
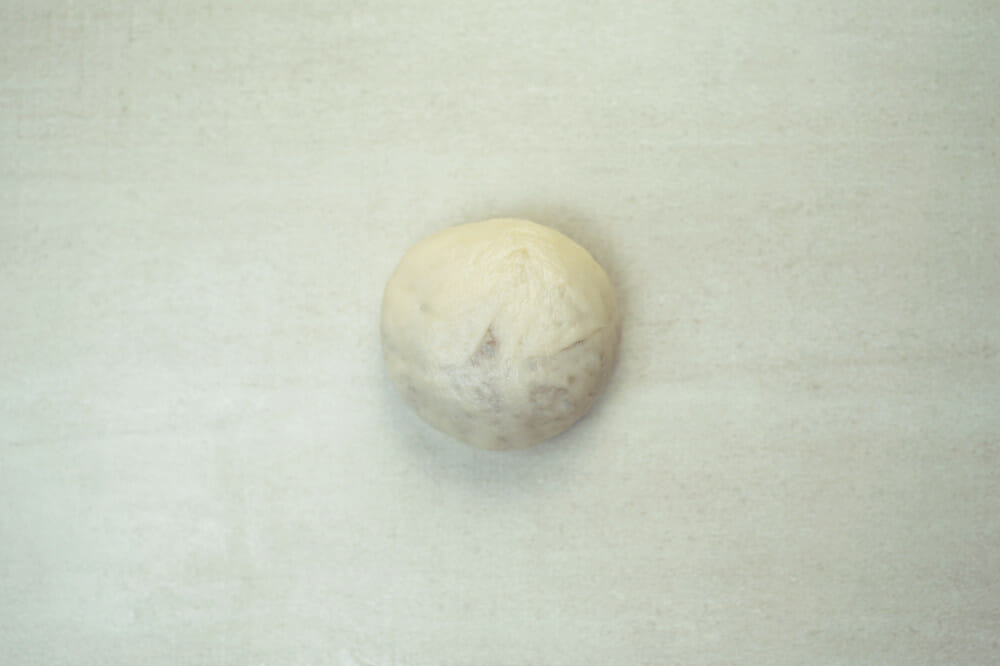
- Take the sides and tug them into the middle of the ball. Pinch these together to seal.
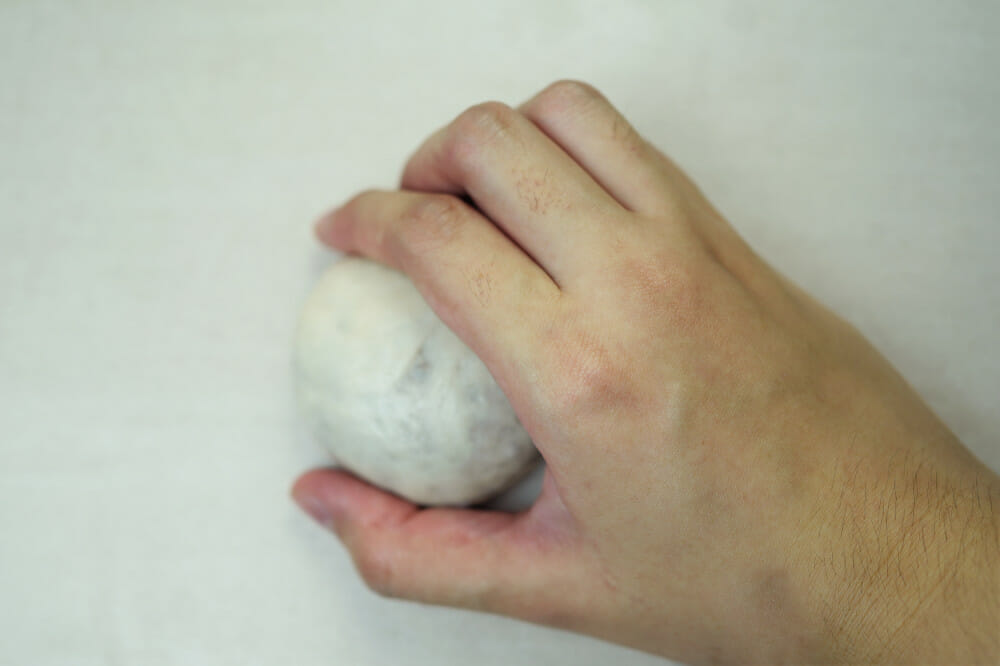
- Flip this to make the ‘sealed’ portion of the ball towards the smooth surface. Form your hand into a ‘claw shape’.
- Make circular motions, putting a bit of pressure to seal and smoothen the bottom further.
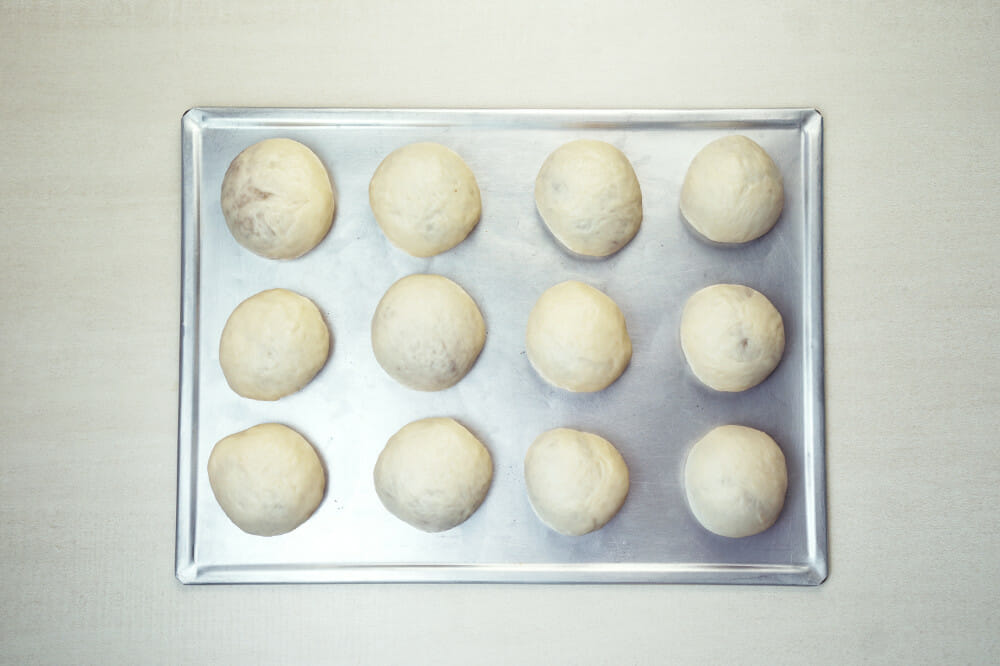
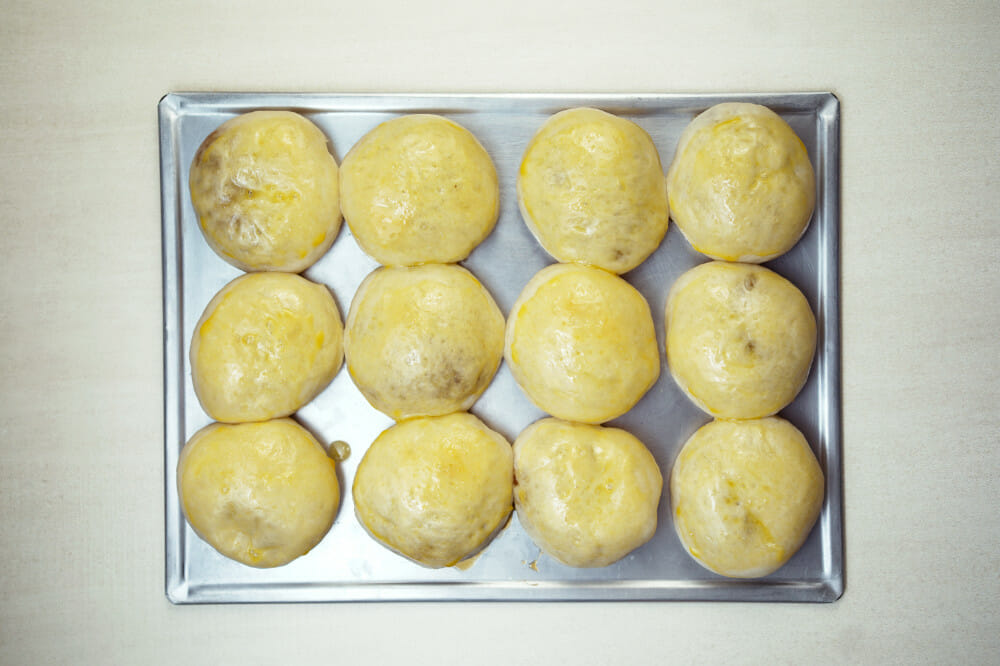
- Place these on a baking tin or tray, cover for 40 minutes to an hour, or till it almost doubles in size.
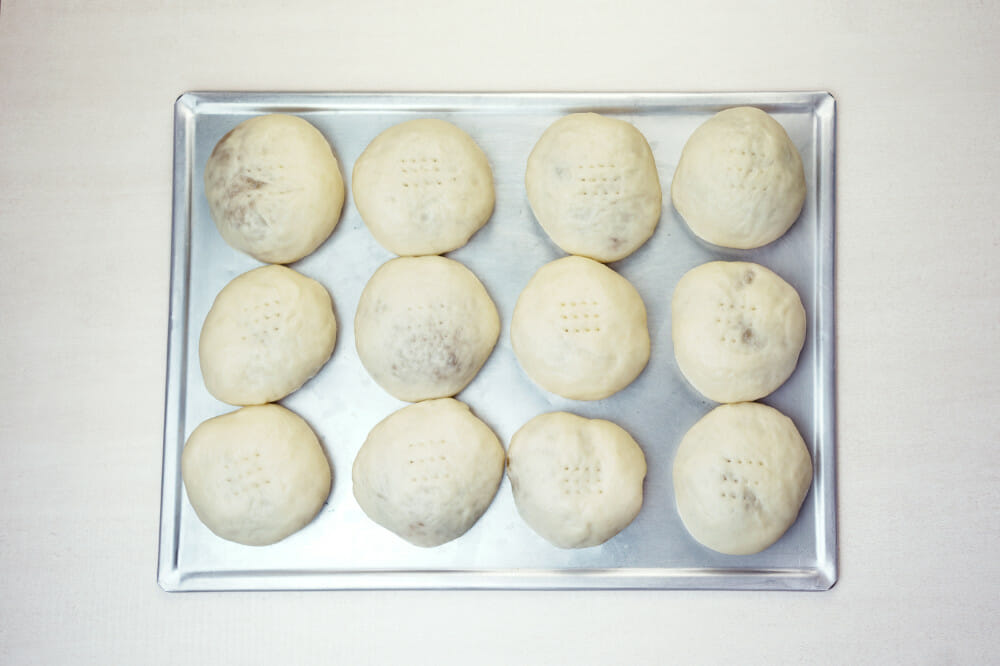
- Once these have risen, use a fork to poke 3 rows in the middle of the bread. Bake in a 350°F or 175°C preheated oven for 10 minutes.
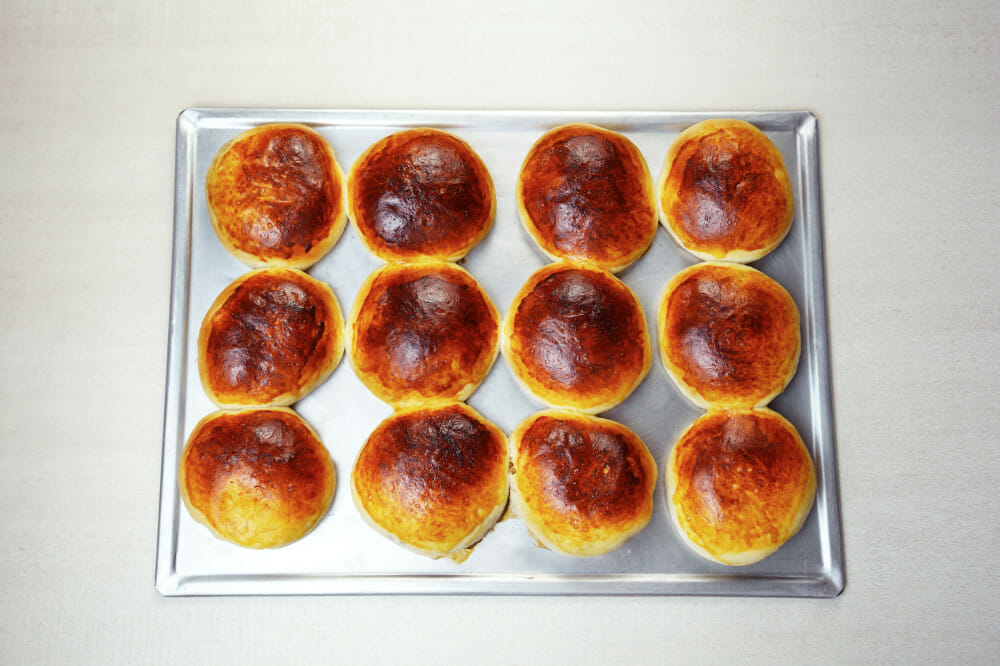
- Take this out. Create the egg wash by whisking the egg and water together. Brush generously over the baked dough.
- Place it back in the oven to bake for another 7 -1 0 minutes or till the top has browned. Serve fresh from the oven.
Nutrition Information:
Yield:
20Serving Size:
1Amount Per Serving: Calories: 277Total Fat: 13gSaturated Fat: 6gTrans Fat: 0gUnsaturated Fat: 6gCholesterol: 15mgSodium: 101mgCarbohydrates: 36gFiber: 1gSugar: 16gProtein: 4g
This information is automatically calculated by third party software and is meant as a guideline only. This website is written and produced for informational purposes only. Statements within this site have not been evaluated or approved by the Food and Drug Administration
